|
Welcome back boys and girls. If you remember,
last month, we left our intrepid Tolman
builder as he was just finishing putting the hull together.
About as quick as that was done, our hero began taping the
outside chines. |
 |
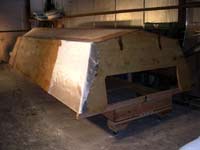
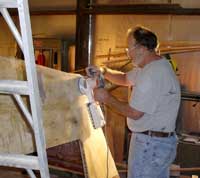
Here you can see the unique lines of the Jumbo hull starting
to take shape. |
 |
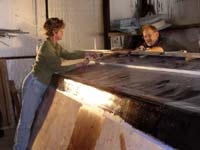
Once the taping is finished, Jim coats the entire outside
of the boat with glass cloth set in epoxy. First the sides.... |
 |
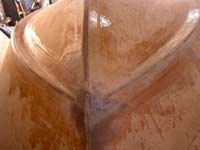
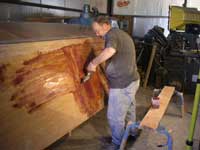
...then the bottom. If you look closely, you will see
that Jim is using a yellow plastic squeege to spread the
resin which is first poured on the fiberglass cloth. |
 |
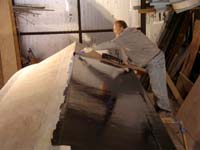
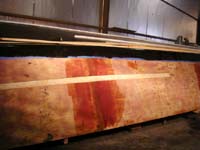
After the glass is all applied, the weave is filled and
the whole thing is sanded ahead of fairing. Jim got a Ridgid
6" random oribital sander on my advice. So far it seems
to be a good tool. |
 |
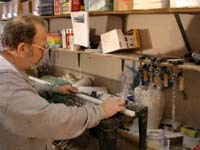
Out come the phenolic microballoons and
the fairing begins. Jim got a really good surface and did
not need to do much of this. |
 |
Following Renn's advise and the lead of several other
Tolman builders, Jim mixes powdered graphite with epoxy
resin to coat the bottom with a hard, slippery mix. |
 |
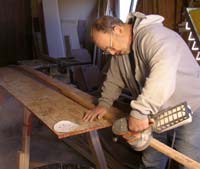
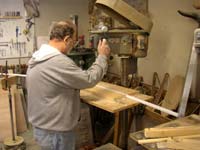
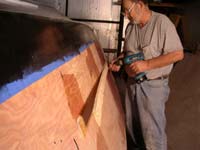
Now it's time to apply the UHMW rubbing strips to the
bottom of the boat. But first they have to be cut from the
raw stock and rounded on the corners. Here Jim uses his
router table with a radius bit to round the strips. |
 |
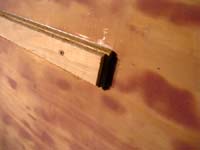
Then the strips are drilled and counter drilled. Jim used
a 3/8" spade bit to counter bore so that the washers
under the pan head SS screws he used would have a flat landing. |
 |
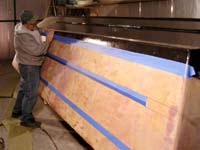
Jim's wife, Mary, helped the day he screwed the strips
to the bottom of the boat. |
 |
The next step was to get the splash rail ready. |
 |
Fron this closeup you can see that two layers are used
to get the curve of the bow. Jim glued the two strips in
place to be smoothed and painted off the boat, then reapplied. |
 |
In this picture, Jim has applied thickened epoxy to only
the two faces to be glued and is screwing it temporarily
to the side of the boat following a line drawn earlier.
|
 |
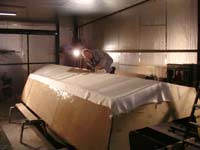
Now Jim begins masking the hull sides prior to painting.
Note that he has masked the area where the splash rail will
go too. |
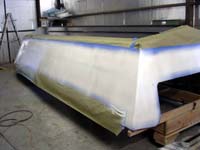 |
This is what the hull looked like after the first coat
of the white one-part polyurethane paint. |
|
While the paint dries, Jim works on those splash rails. |
 |
Once smoothed nicely, they are then fitted to the hull
and trimmed. |
|
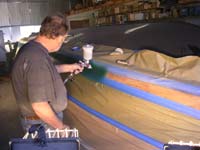
Here, Jim uses his Harbor Freight LPHV spray gun to add
the green boot stripe. |
|
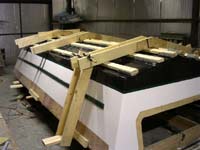
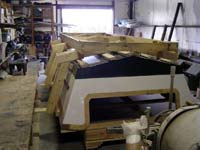
Once the painting was finished, a rollover frame was begun.
There is a 3 foot drop-off beyond the door of the shop.
This is handy for taking a boat out to a trailer, but not
for turning the boat over. |
|
So we placed the cradles on top of the boat, wrapped
planks around the hull and built a new strongback atop
the whole mess.
Next: Turnover |