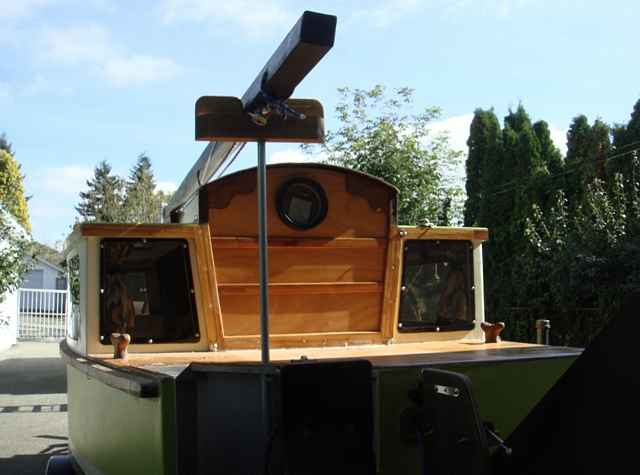
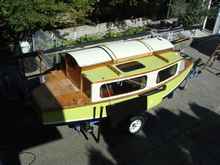
Nobody ever accused me of being a photographer. I haven't let that stop me and present here some snaps of my efforts this summer. The roof and hatches came first. They should have probably followed the tabernacle, not preceded it. However, I didn't plan on a tabernacle until the mast snapped, but that's another story. I'll get back to that later. The roof and hatches were constructed of cedar strips a la stripper canoe style with cove and bead edges. The hatches were constructed first as one large piece and then the roof section was built on top of it to get the mating curve. Next the hatch was cut into two equal length pieces. The hatches slide on aluminum angles fastened to the slot top rails. The roof is fastened with hooks on one side and loose pin hinges on the other rail. It is removable. The black coloured gaskets between the roof and the hatches were carefully designed by General Motors and came from a 2002 Oldsmobile that was languishing at Ralph's Pick-A-Part. They started life as weather strip around the doors and have proven to be effective on a boat as well.
The brown arcs are exterior frames to help stiffen the roof. There are matching ribs on the interior of the hatches. Originally the roof/hatches were left clear epoxy over cedar. This resulted in a dark brown color and looked good in my opinion. But they were great heat sinks and cooked anybody inside thus the light coloured paint. Then the mast broke. It was a benign beautiful day at the Port Townsend Pocket Yachter's Pocket Palooza. On board were friends Scott and Christine, fellow students of the Small Craft Sailing Academy and all round competent people. They leapt into action and we soon had sail, spars and broken mast on board. My thanks to them both. Scott still thinks it was his fault the mast broke and I can probably milk this for a few beer. I think the failure was the result of a severe thrashing the boat received the previous October. There must have been concealed damage to the mast. I went home and built a new mast, similar the failed product. But the wheels were turning around the idea of a tabernacle. With the original slot top design the mast was raised from inside the cabin. Just fit the heel of the mast to the step and start walking it up until it arrived at the partner. Simple. With the new roof and hatches I had to start the process by removing them, step the mast and reinstall the roof. This was a pain in the anatomy. My intention was to have the tabernacle outside the cabin area ahead of the forward bulkhead. John Welsford (he was in Pt. Townsend at the time) suggested keeping it inside the cabin. I guess that he's not just another pretty face, there is a scheming brain working in there. I worked through the various issues that this created and went to a local welding shop where they made up a square section U which I bolted into the front bulkhead.
 |
 |
 |
 |
 |
 |
 |
 |
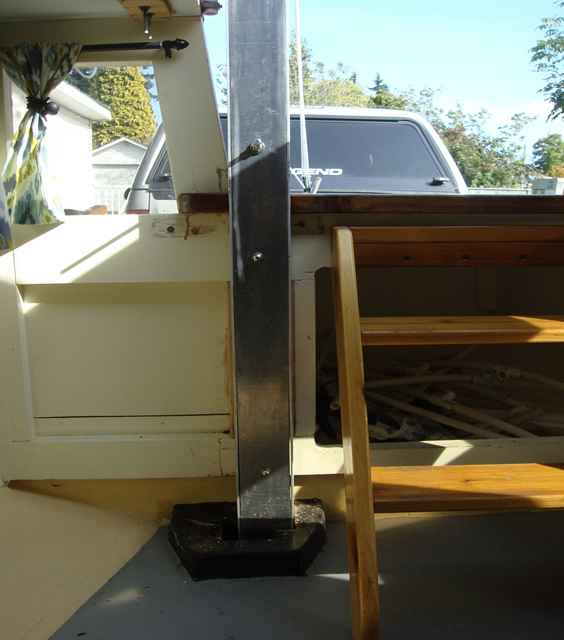
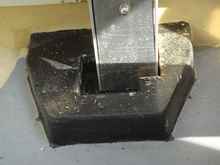
You can see how I had to move the heel of the mast toward the center of the boat. It also had to move a little forward. I'm not sure yet about in filling the space around the heel as it forms a well for rain water that finds its way in. That is a very small amount which will hopefully eventually be zero.
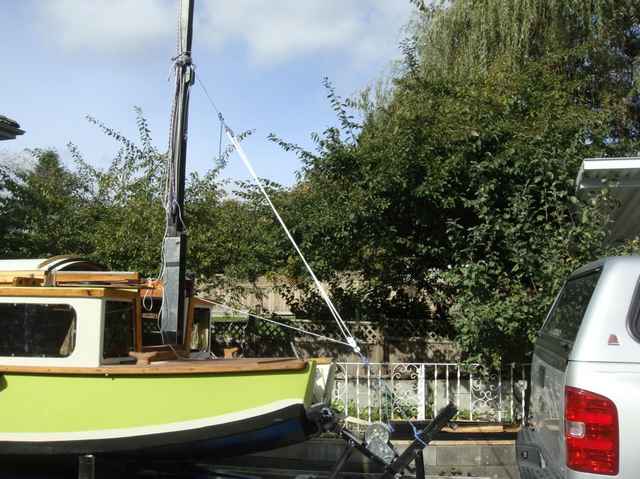
The mast was cut just above the companion way threshold at a small angle perhaps 15 degrees. The bottom part is permanently fastened inside the aluminum tabernacle, pretty conventional stuff at this point. The top of the mast has a block fastened to it. A hole is drilled and the hinge pin passes thru the block eliminating a hole in the mast body. Lastly another hole is drilled thru the bottom of the mast and tabernacle to lock all in place.
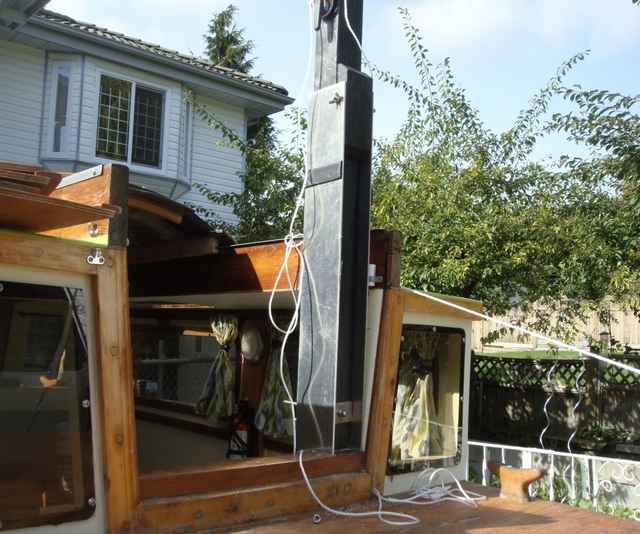
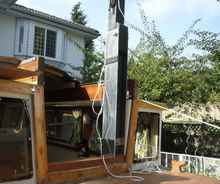
Now that the mast could fold down a crutch was required at the aft end of the boat to support it.
There is a bracket on the crutch to hold an anchor light as well. This puts it well up for better visibility. I added a second block/hinge point to the face of the mast. This is located so that the mast fits within the total length of the boat and trailer combination. I am more comfortable with this shorter length when travelling plus money is saved when boarding a ferry . I also added a removable block that fills the tabernacle so it doesn't act as a rain scoop when travelling down the highway. The block is a chunk of the original broken mast. Never throw anything away! I have found in operation that I need something or someone to hold the mast in place until the anchor bolt is in place. At this time I am using a block and tackle. It works fine but is a little over complicated for the job.
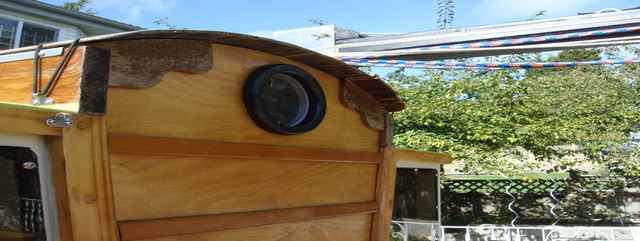
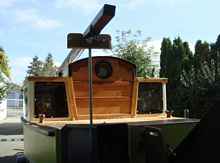
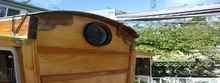
The hatch cover fits neatly around the tabernacle. There is a tiny bit of rainwater still finding its way in at that point but I still have some Oldsmobile gasket which should solve the problem. For those who are wondering, there is a gap at the forward end of the hatch cover. I used some of the hatch cover cutout and fastened it to the drop board top edge. It looks like the hatch cover surrounds the tabernacle but not so. It took a little head scratching to come up with that.
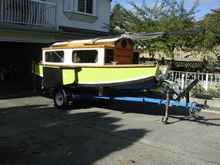
There is still a major fly in the ointment. With the roof in place the boat just barely fits under the garage door. With the tabernacle, not a chance. So for long term storage the tabernacle is removed. This goes very quickly as there are only 2 bolts. Was it worth all the time and effort? Honestly, I don't know yet. Time will tell if any real savings in time at the ramp are accomplished. For sure it is more secure when left in a parking lot for a period of time. Plus, I just like the new look. Think Gypsy wagon without the wheels!
|