Hey
Chuck, Sandra,
Been out of touch for a while. Haven't stopped working on boats,
just stopped talking to people!
I finally got tired of waiting on Matt's family
and sold his Jeep on ebay to post his bail. Once he got over
losing his ride (and the hefty commission I charged) he finally
decided to finish the project we started last February (author's
note: "most" of that sentence was a lie!).
Regardless of how it happened, we did get
back on the project awhile back and as everyone knows there
is a time when you work, work, work, like crazy but not much
is happening to take pictures of. I call that part of the project
- half-time. But now all the hull sanding and epoxy work is
done, every new step has a major visual impact (at least to
the builders).
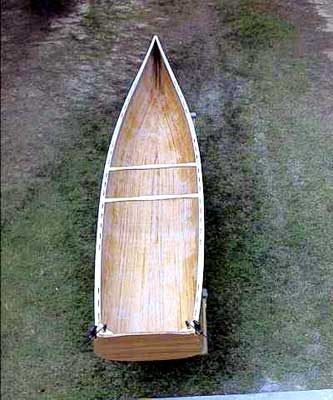
After determining where we wanted the seats
and thwarts, scuppers were made in the inwales by clamping the
two gunnels together and drilling a half inch hole in either
end of each scupper then removing everything in between. Note,
there are no scuppers in the seat hanging area and the area
where the two thwarts are mounted. This resulted in scuppers
with rounded corners which , to me, look nicer than square corners.
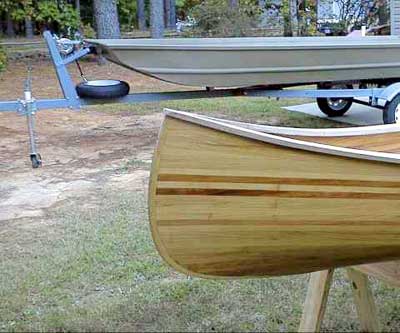
Matt then spent a day filing and sanding the scuppers. Both
inwales and gunwales were tapered the last three feet of the
bow end to help keep the front from looking too bulky. Because
of the tumble home near the transom clamping the aft end of
the gunnels proved "interesting" but no match for
a couple long pipe clamps. We added a 2" #12 brass screw
(countersunk) to the ends of the gunwales as they were under
considerable stress.
Once the epoxy holding the ash gunnels cured,
we added 36 1-1/2" countersunk brass screws to the inwales
in consideration that this is a powered canoe and may be subject
to increased stresses. Next, I removed the bit of hull that
was protruding between the gunnels with a belt sander which
made the dreaded final trimming and shaping a breeze.
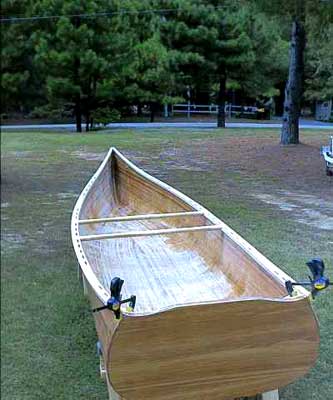
The two thwarts are held in place with mortise
and tendon joints into the inwales and augmented with brass
screws hidden underneath. Because this canoe will be used for
weekend long trips, there are two thwarts to make securing the
gear in "dry bags" much easier (or maybe Matt wants
to keep his beer cooler from sliding around - your choice!).
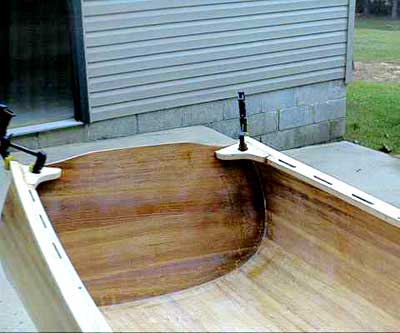
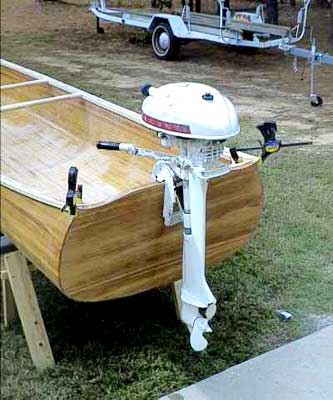
After some discussion, we added quarterknees
to the transom in case Matt gets bored with the 1958 3.6hp Elgin
he is planning to use for power and decides on a bigger engine.
I'm not sure the bottom of the hull is stiff enough to plane
a loaded boat - something that will be answered soon with water
trials. The quarterknees were sketched right onto the ash scrap
and cut with a band saw, they do have a one inch hole in them
for tying off stuff in the transom area (holes hidden by the
clamps in the photo). That was Matt's idea!
The rough work on the deck has been done -
its highly marbled ash and about 18" long (one foot wide
at the widest point). There will be a coaming on the deck as
well. The seats, plans from Green Valley Boat Works, (https://www.greenval.com/)are
nearly done, they are hanging in a corner of the shop by fishing
line waiting a final coat of epoxy sealer. They will be caned
with synthetic cane - I think (hope) Matt's wife is going do
the cane work.
It won't be too long before she is done
- a really fun project that I learned everything I needed to
in preparation for Tentboat and the skiff she will carry. To
be continued...
Larry
Pullon
|