ROONIO BUILD PART TWO
Finishing Construction
By Bill & Paul Moffitt
Part One
When we left off, Paul had basically finished the two hulls. I went up to Philadelphia for a long weekend and helped him make the bridgdeck. We upped the 4’ x 8’ ply deck from 1/4” to 3/8” because of my weight and for the Everglades Challenge 2005.
(click images for larger views)
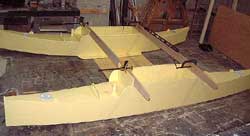
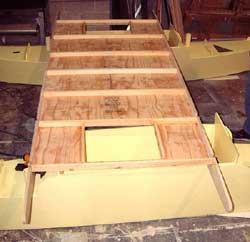
We started by squaring and leveling the hulls/beams.
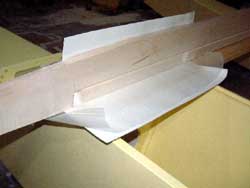
We used poster paper shims between beams and bulkheads to allow gluing and clamping of 4’ x 8’ Ply deck and still maintain a good fit. We also used waxed paper to keep stuff from sticking where it shouldn’t! This worked very well and everything fits snugly and firmly. Note routed slot for deck.
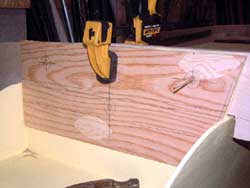
When ready to drill the three bolt holes in the 4 bulkheads, we made a template so that all would be the same. Again, it worked well.
Here is a shot of the BOTTOM of the bridgdeck. All joints were later epoxy filleted.
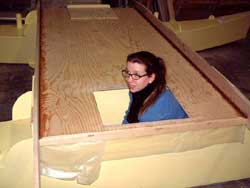
Here is Cybele, Paul’s long suffering wife, checking out the access to the storage holds. She can reach them easily, by neither Paul nor I can do so. A mod or system of storage access will need to be devised. Note Fillets on beams/deck joint and waxed paper.
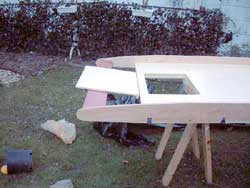
Here is the major mod we made in Jeff’s design. Extended beams to provide support for hinged footwell covers which double as hiking seats. They are closed while getting through surf, or in heavy rain, to limit water in central hulls.
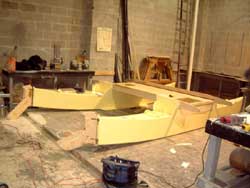
Here is where I left Roonio. Rudder stocks and rudders were an adaptation of Michalak’s Woobo design as was the lee board (not shown here).
Lookin’ like a boat!
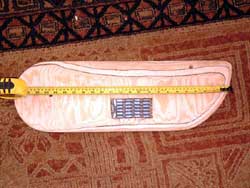
Speaking of rudders, here is Paul’s no molten lead solution to sink weight. Turned out this was not quite enough once in the water and we had to invent a kick-upable hold-down. Picture later.
On to the sails. Dave Gray of Polytarpsails fame
https://members.aol.com/polysail/HTML/
Supplied Paul with a kit of materials to make up the sails. He also provided advise on velcro and construction. Jeff added length to the gaff, boom, and roach to increase sail area for a better fit to the Everglades Challenge. Paul had never made any kind of sail before, and I think he did a fantastic job. Cybele shared the sewing duties with him, and they elected to sew everything up from the start as these sails will be used in the Challenge and need to be strong. Reefing points were added; only later did we realize that the sails could be rolled up on the boom just fine! Oh Well!
On the advice of several people, the sails were cut flat, with no curve build in. Upon further thought, a curve to match the mast bend would have been a good thing. Maybe next time! The photos later will allow you to judge for yourself how well the sails draw and shape. Let us know what you think.
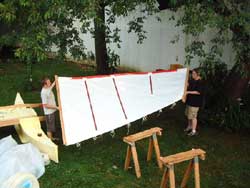
One sail, with battens (velcroed onto sail!), Gaff, boom, and both my sons Paul and Sean (who instigated the building of Roonio).
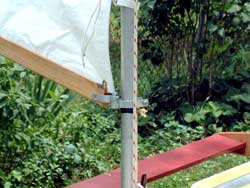
We decided to use a standard gate hinge instead of the designed cheeks per Gilbert. This is cheap, fast, and allows easy adjustment of boom height. We turned the fitting over so that halyard would pull sail onto hinge pin. Cotter pin holds boom up when sail is not under tension. Worked well in practice.
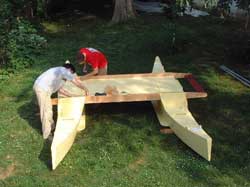
Here is a great shot of first full assembly of Roonio. It shows the asymmetry very well. Note masts on the right. Paul welded these up from 3 12’ lengths of aluminium tubing. 13-14 lbs each.
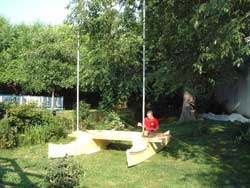
Paul checking possible oar length with masts installed.
But enough of this building stuff, lets go sailing!