| by Steven Lewis - Souix City,
Iowa - USA |
Part
1 - Part
2 - Part
3
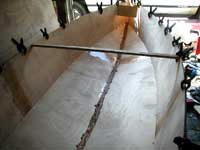
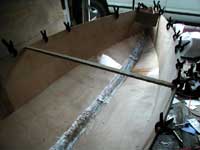
Winter is over, Spring is here and the epoxy is flowing...sorta.
I went out to start filleting the hull and found this:
 |
(click
images to enlarge)
|
|
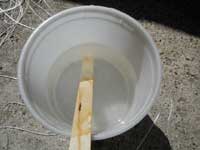
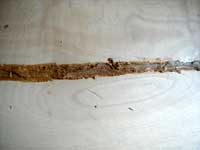
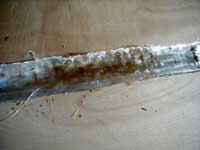
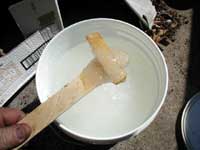
My resin had partially crystalized! Not to panic...I
poured/scooped a bunch (10-12 oz) into a plastic container
and headed for the house. 3 30 second shots in the
microwave and a couple of 10 seconders and voila...
Nice clear and smoothed resin. If you try this, make
sure to stir between nukings and only warm the resin
to about 90°. The next bit to do is to...
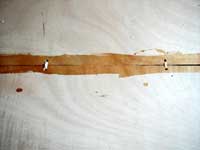
Cut the strips for taping the seam. Having no 4"
tape on hand I had to cut them from some 30"
wide cloth that I have. No big deal, just overlap
the joints a bit. Next we mix up a batch of resin
and...
Prewet the seams. This is so the wood has enough
resin and that it doesn't leech resin out of the filleting
putty, which is dry enough already. Once the whole
seam is wet...
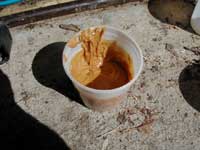
Mix up a batch of goop. I actually made this before
I mixed the wetting out resin, and it hadn't oozed
off the side at all. This is the right consistancy
for what I want. I used about 90% wood flour and 10%
cabosil (fumed silica). Anyone who is worried about
woodflour absorbing moisture...think about it. This
is the ultimate in encapsulated wood celulose. If
this ain't waterproof, none of it will be! So anyway...
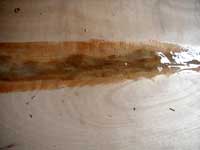
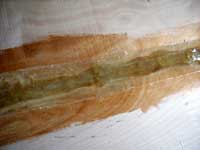
I slapped some in there, nice and thick. I know it
isn't pretty but it is just the second layer and will
be smoothed out with...
A small brush and the rest of the raw epoxy from
wetting the wood out. Use a medium amount, enough
to smooth the biggest lumps and ridges out and feather
the fillet into the wood. This also helps to start
wetting out...
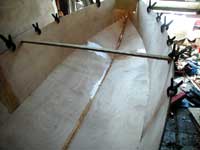
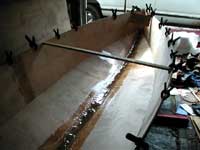
The fiberglass strips. Lay the strips into the fillets
and press into place but not too hard. You should
wet the wood around the fillet so the tape sticks
well the full width. Whip up another batch of resin
and ...
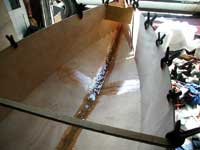
Wet out the cloth completely. The extra width of
wet wood is just using up my extra resin. I will be
putting a coat on the inside to seal the wood anyways.
This will be good enough for the bilge so this seam
is done. Total elapst time not including cutting
the strips was about 1/2 hour. This method of doing
the filleting and taping creates the strongest joint
because all the epoxy is 100% bonded together chemically
and mechanically. If I were to fillet first then sand
and tape, not only do I have the extra work of the
sanding, but I would only get a mechanical bond between
the two layers of epoxy (fillet layer and tape layer).
Stay tuned for the next installment
|